I loved DragonBall Z as a kid, and still love it as an adult.
Among the ludicrous number of transformations, the original Super Saiyan remains my favorite.
Nothing quite like the original
I’m also loving RxJS the more I level up with it, so why not combine these two for the ultimate showdown?
Let’s Go Super Saiyan
With four sprite sheets and a bit of HTML, CSS, and RxJS, we can recreate this legendary transformation!
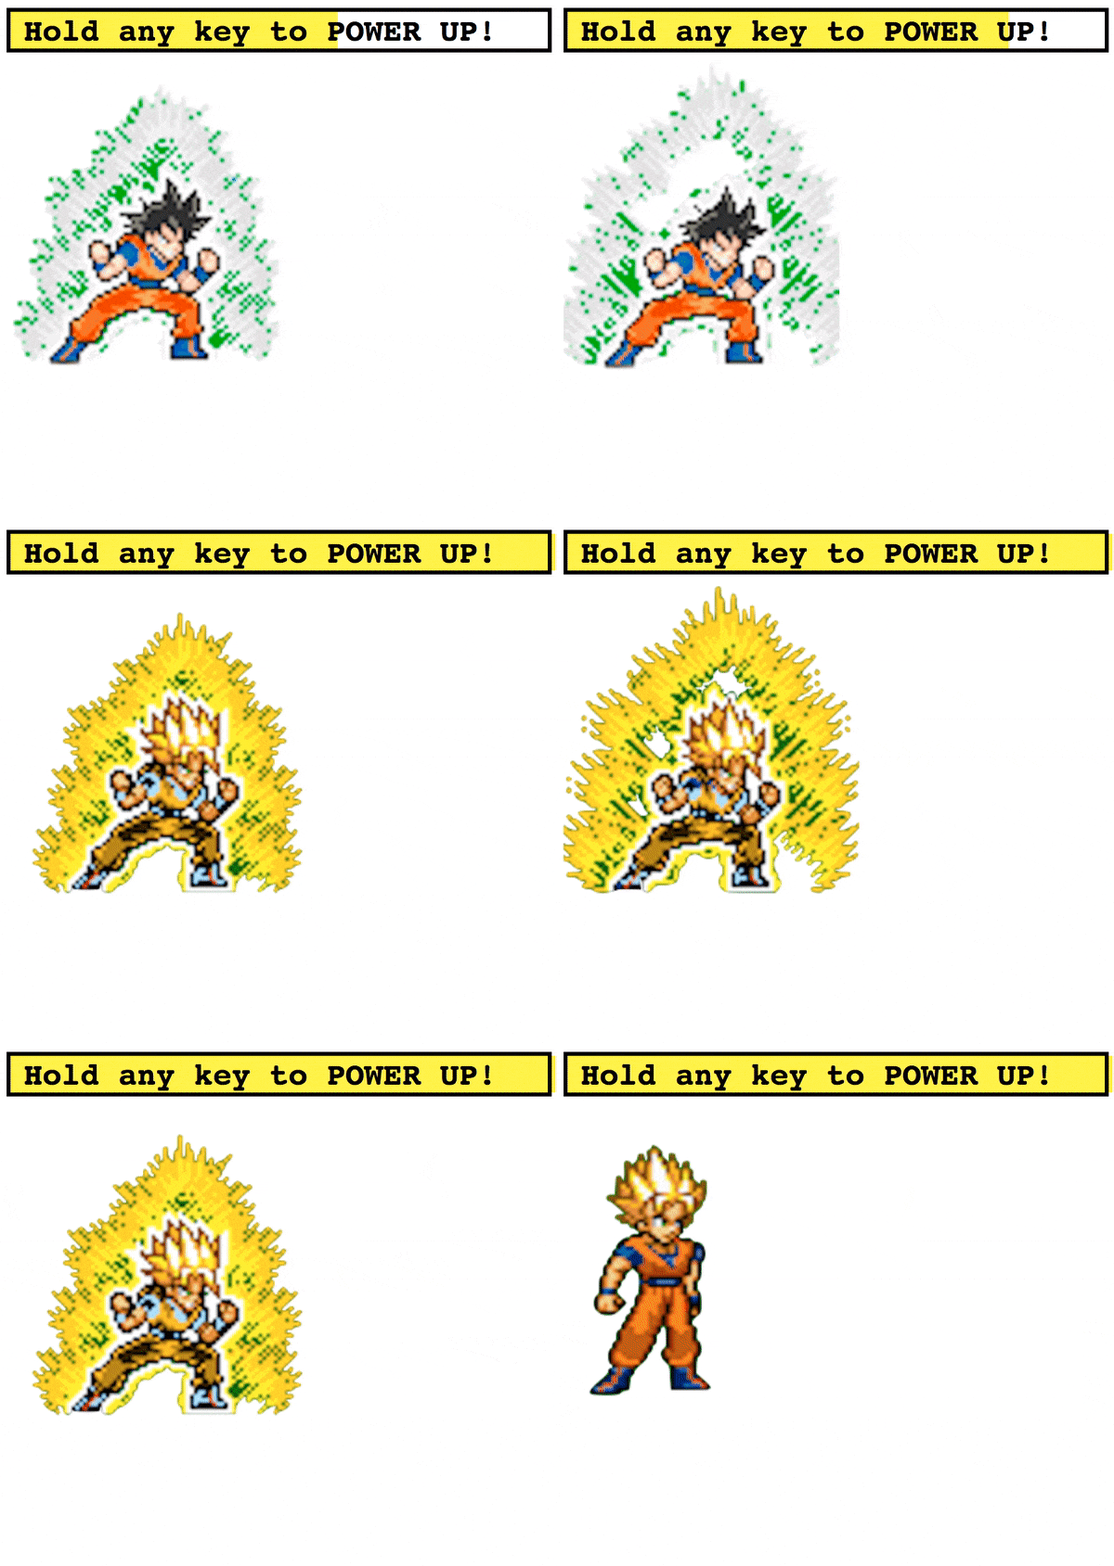
This is what we’ll be making. Exciting, right?! 😁
Setup
Everything’s on my GitHub.
cd ./wherever-you-want
git clone [https://github.com/yazeedb/dbz-rxjs](https://github.com/yazeedb/dbz-rxjs)
cd dbz-rxjs
Open index.html in your favorite browser, and the project in your favorite text editor, and you’re ready to go!
No npm installs today 😉
And going forward, I’ll use the acronym “SSJ” instead of “Super Saiyan” for brevity.
First Day of Training
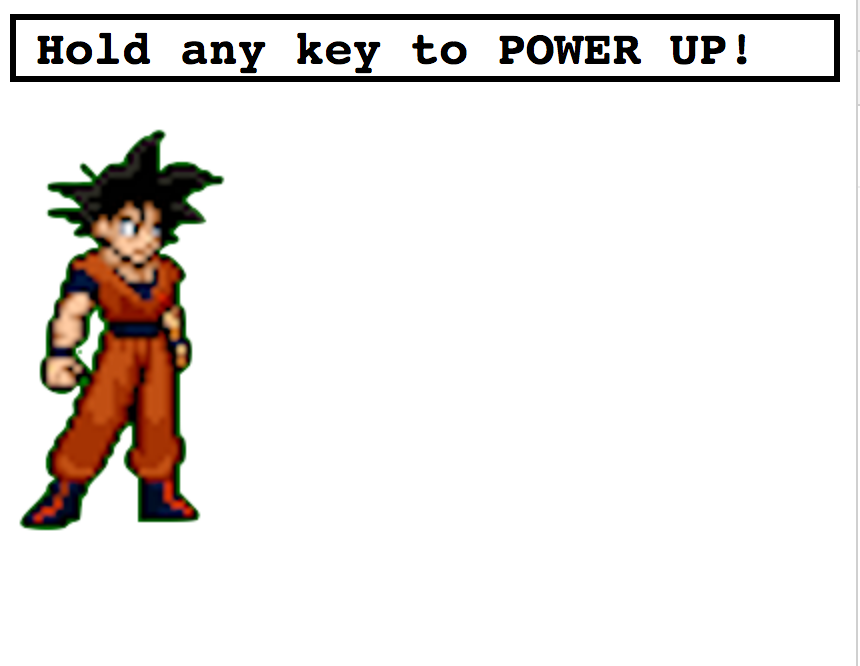
You’ll notice that Goku’s already moving. Since we’re focusing on RxJS, we’ll just skim the project’s starting point.
Here’s the main HTML:
<div id="root">
  <div id="meter-container">
    <span>Hold any key to POWER UP!</span>
    <div id="meter"></div>
  </div>

  <div id="sprite" class="base"></div>
</div>
The bottom div has class="base", which corresponds to this CSS:
.base,
.ssj {
  width: 120px;
  height: 250px;
  animation: stand 0.8s steps(2) infinite;
}

.base {
  background-image: url('img/goku-standing-sheet.png');
}
This sets Goku’s width, height, and standing animation.
If you look at his base/ssj sprite sheets, it’s two different positions and we’re switching between them every 0.8 seconds.
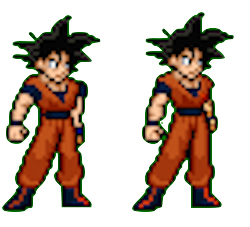

The switching’s handled towards the bottom of style.css:
@keyframes stand {
  from {
    background-position: 0px;
  }
  to {
    background-position: -255px;
  }
}
Same thing for power up:


@keyframes powerup {
  from {
    background-position: 0px;
  }
  to {
    background-position: -513px;
  }
}
We’ll cover the power up meter when we manipulate it.
Mastering the DOM Elements
index.html already includes RxJS@6.2.1 via CDN, so you’re covered.
In app.js, let’s capture the DOM elements we’re interested in:
const sprite = document.querySelector('#sprite');
const meterContainer = document.querySelector('#meter-container');
const meter = document.querySelector('#meter');
I prefer to alias document.querySelector so using it doesn’t cause me wrist pain.
const $ = document.querySelector.bind(document);**
const sprite = $('#sprite');
const meterContainer = $('#meter-container');
const meter = $('#meter');
Next, we’ll create a main function and immediately call it.
// ...

const main = () => {
  // do something
};
main();
Powering Up
Here is main’s first code snippet:
const main = () => {
  const { fromEvent } = rxjs;

  const begin = fromEvent(document, 'keydown');
  const end = fromEvent(document, 'keyup');
};
Goku should power up when a key is held down, and stop when that key is let go. We can use the fromEvent operator to create two observables:
begin: Notifies when the user presses a key down.end: Notifies whenever the user lets go of a key.
Then we can subscribe to these emissions and act upon them. To get the power up animation, give sprite the powerup class name.
begin.subscribe(() => {
  sprite.classList.add('powerup');
});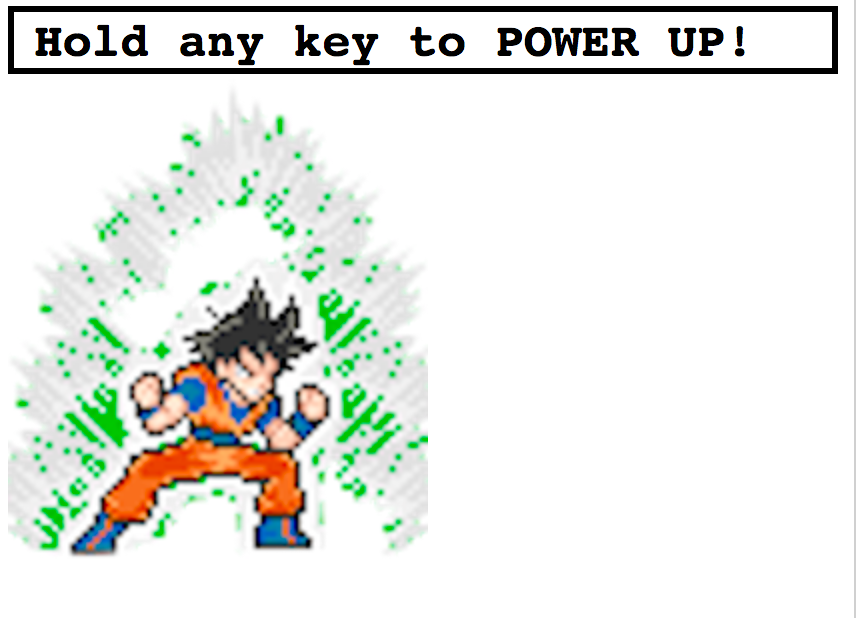
It works, but pressing a key causes him to power up forever…
We must also subscribe to the end observable, so we know when the key has been let go.
end.subscribe(() => {
  sprite.classList.remove('powerup');
});
Now he powers up and down at your command.
Building a Scouter
Any DBZ fan has seen a scouter, the little eyewear used to track power levels (until like episode 20…).

Obligatory > 9000 joke
As Saiyans power up, their power level grows. Inconceivable, right?
We need a way to track Goku’s power level as he ascends, and trigger the SSJ transformation after say, 100 points.
We can start his power off at 1, and increase it while the user holds a key down.
RxJS Operators
Operators are where RxJS really shines. We can use pure functions to describe how data should transform through the stream.
When the user holds a key down, let’s transform those emissions into a number that increases over time.
Scan
The scan operator is perfect for this. It’s like Array.reduce, but it emits as it’s reducing.
For example, if you have an array of numbers:
nums = [1, 2, 3, 4, 5];And wish to add them up, reduce is a great choice.
nums.reduce((a, b) => a + b, 0);
// 15
What if you want to see each addition as it happens?
Enter scan. You can run this in our app’s console.
const { from } = rxjs;
const { scan } = rxjs.operators;

from([1, 2, 3, 4, 5])
  .pipe(scan((a, b) => a + b, 0))
  .subscribe(console.log);

// 1 (0 + 1)
// 3 (1 + 2)
// 6 (3 + 3)
// 10 (6 + 4)
// 15 (10 + 5)
See how the emissions increase over time? We can do that with Goku as he powers up!
const { fromEvent } = rxjs;
const { scan, tap } = rxjs.operators;

const begin = fromEvent(document, 'keydown');
const end = fromEvent(document, 'keyup');

begin
  .pipe(
    scan((level) => level + 1, 1),
    tap((level) => {
      console.log({ level });
    })
  )
  .subscribe(() => {
    sprite.classList.add('powerup');
  });
We start his level at 1 and increase it by 1 every time the keydown event fires.
And the tap operator operator lets us quickly log the value without disturbing the pipeline.
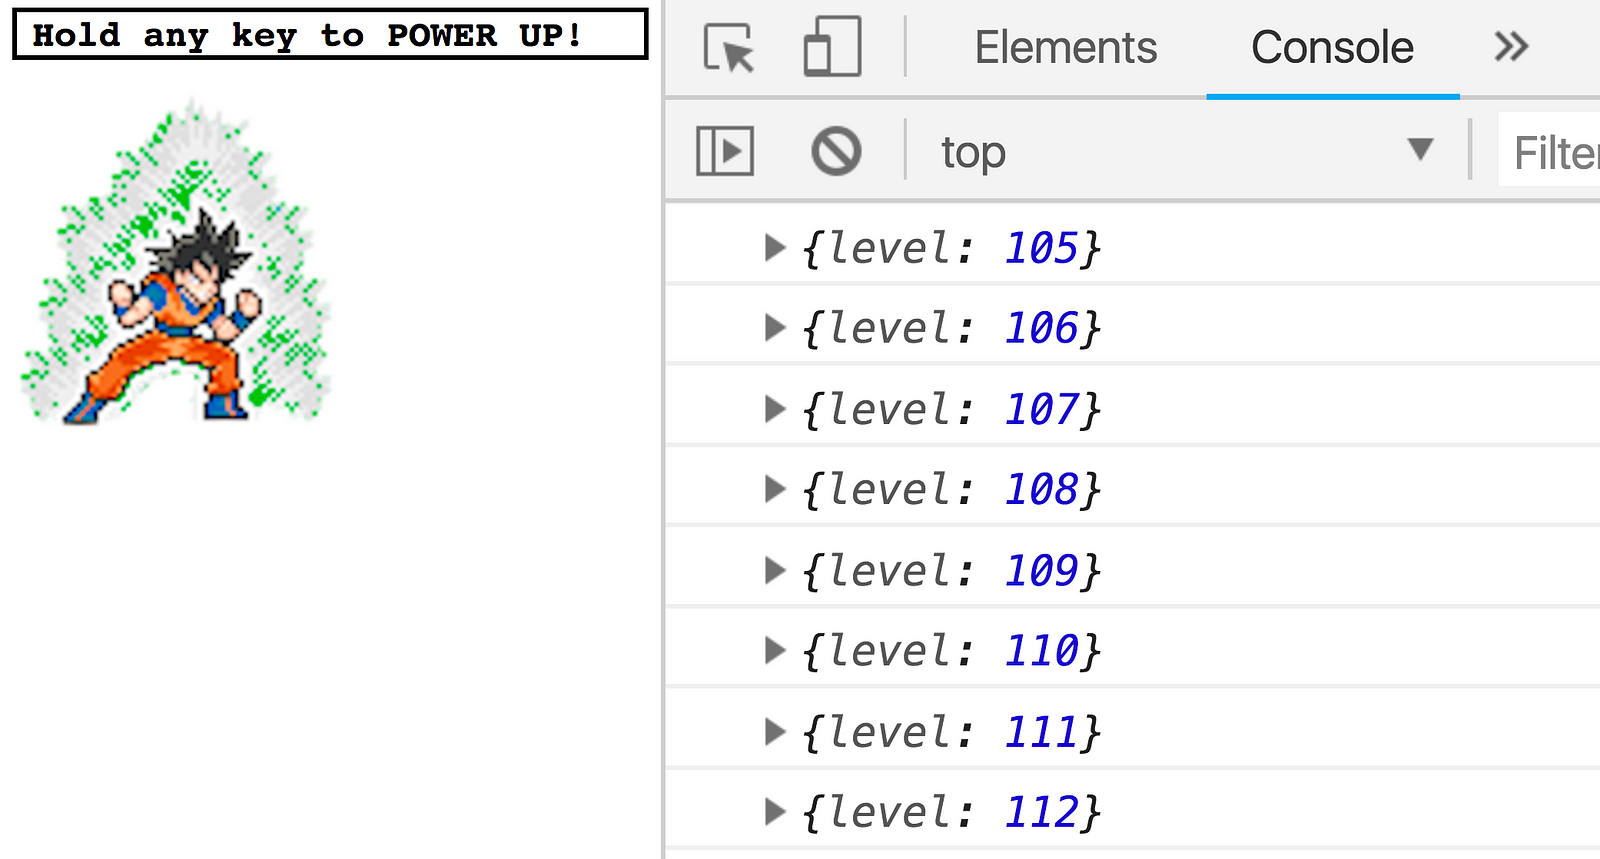
My power infinitely approaches MAXIMUM!
Going Super Saiyan
We’ve trained hard, it’s time to transform.
The scan operator tracks Goku’s power level. Now we need to go SSJ when it emits 100.
I built a map of levels: transformations. You can put it right above main.
const powerLevels = {
  100: {
    current: 'base',
    next: 'ssj'
  }
};

const main = () => {
  // ...
};
It’s overkill, but should simplify adding future transformations.
When the power level reaches a number in that powerLevels map, we’ll remove its current class from sprite and add the next class.
This lets us smoothly go from one transformation to the next.
Here’s the code.
const { fromEvent } = rxjs;
const { filter, map, scan, tap } = rxjs.operators;

const begin = fromEvent(document, 'keydown');
const end = fromEvent(document, 'keyup');

begin
  .pipe(
    scan((level) => level + 1, 1),
    tap((level) => {
      console.log({ level });
      sprite.classList.add('powerup');
    }),
    map((level) => powerLevels[level]),
    filter((level) => level && level.next)
  )
  .subscribe(({ current, next }) => {
    sprite.classList.remove(current);
    sprite.classList.add(next);
  });
Map and Filter
Adding the powerup class now happens inside of tap, because it should always happen. The SSJ transformation however, shouldn’t always happen.
Using map, the latest power level becomes an entry in the powerLevels map. We use filter to check if the entry exists and has a .next property.
If it does, that means Goku can go even further beyond! Our .subscribe will swap current and next as class names on sprite.
The end result?
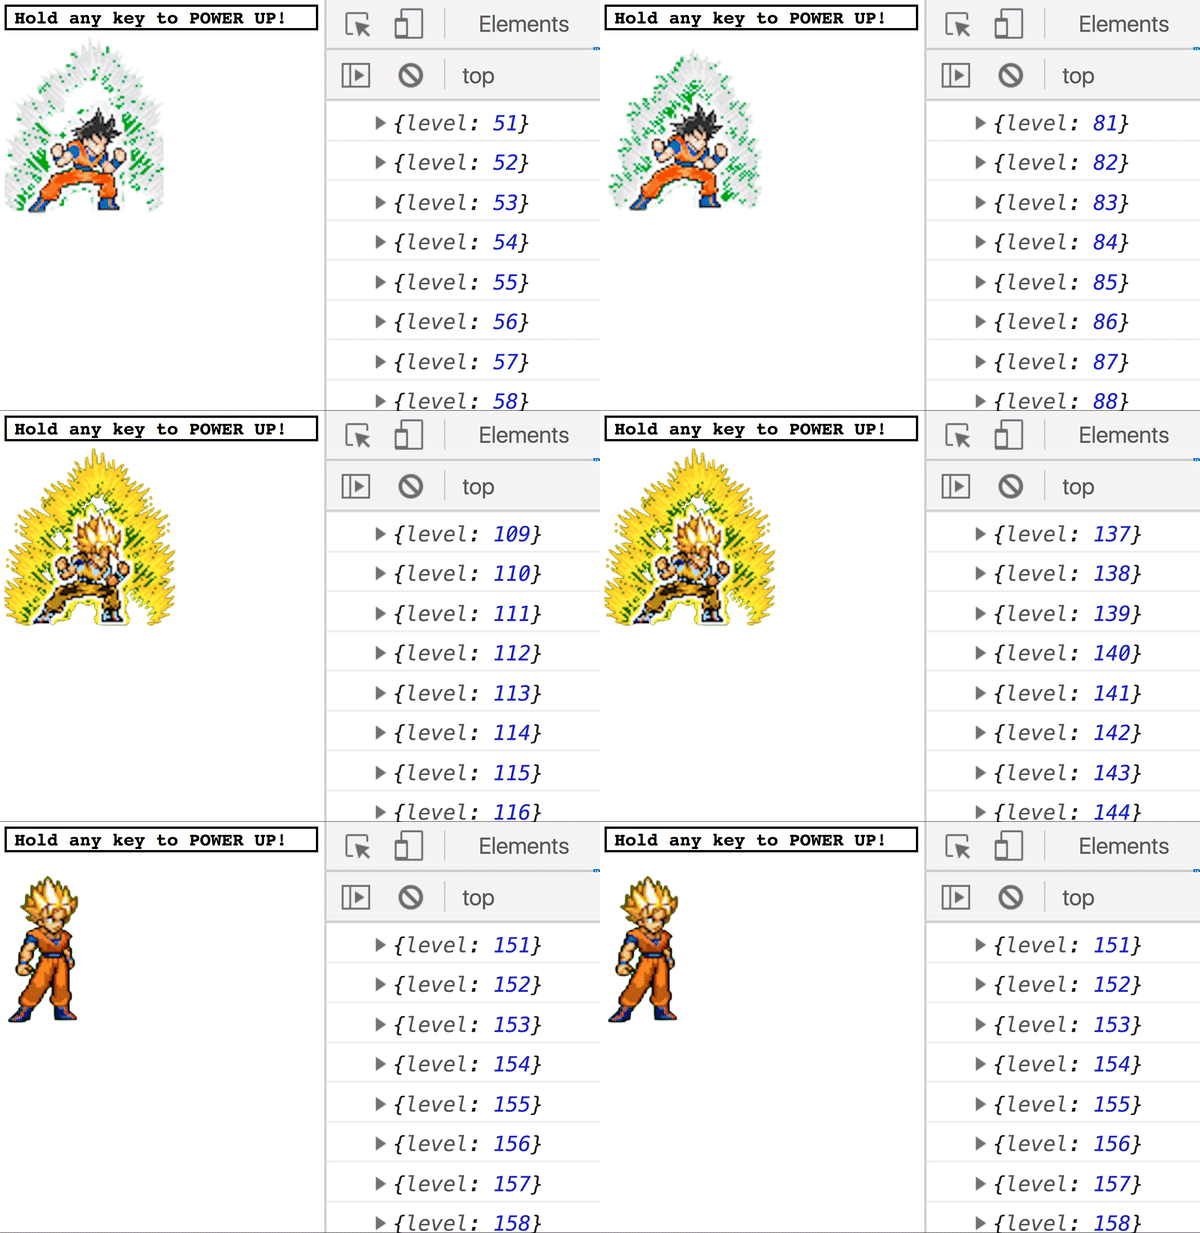
Power Meter
You’re having as much fun as I am, right? Unfortunately, our user won’t.
They can’t see how high Goku’s power level is! They won’t know how to open the DevTools console. We must remedy this!
Let’s improve our UX by filling the power meter. You can put this above main.
const fillMeter = (level) => {
  const limit = 100;

  if (level >= limit) {
    return;
  }

  const containerWidth = meterContainer.offsetWidth;
  const newWidth = (level / limit) * containerWidth;

  meter.style.width = `${newWidth}px`;
};
And call it inside tap.
tap((level) => {
  console.log({ level });
  sprite.classList.add('powerup');
  fillMeter(level);
});
And here we go:
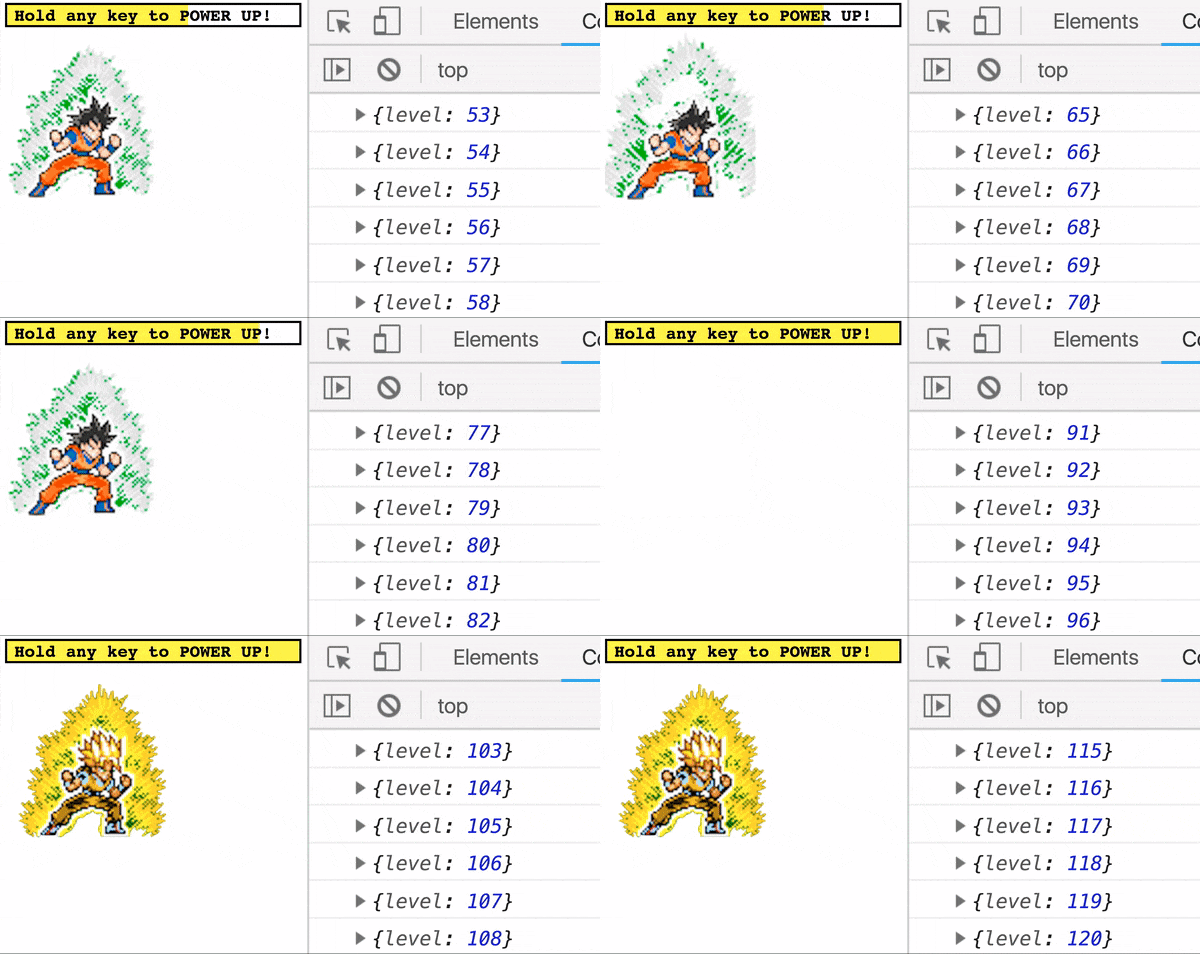
Going Even Further Beyond
Unlocking more transformations is just a matter of adding sprites, and updating our powerLevels map. If you’re interested, submit a PR on the repo and we’ll definitely talk.
Here’s the original sprite sheet. Enjoy!
